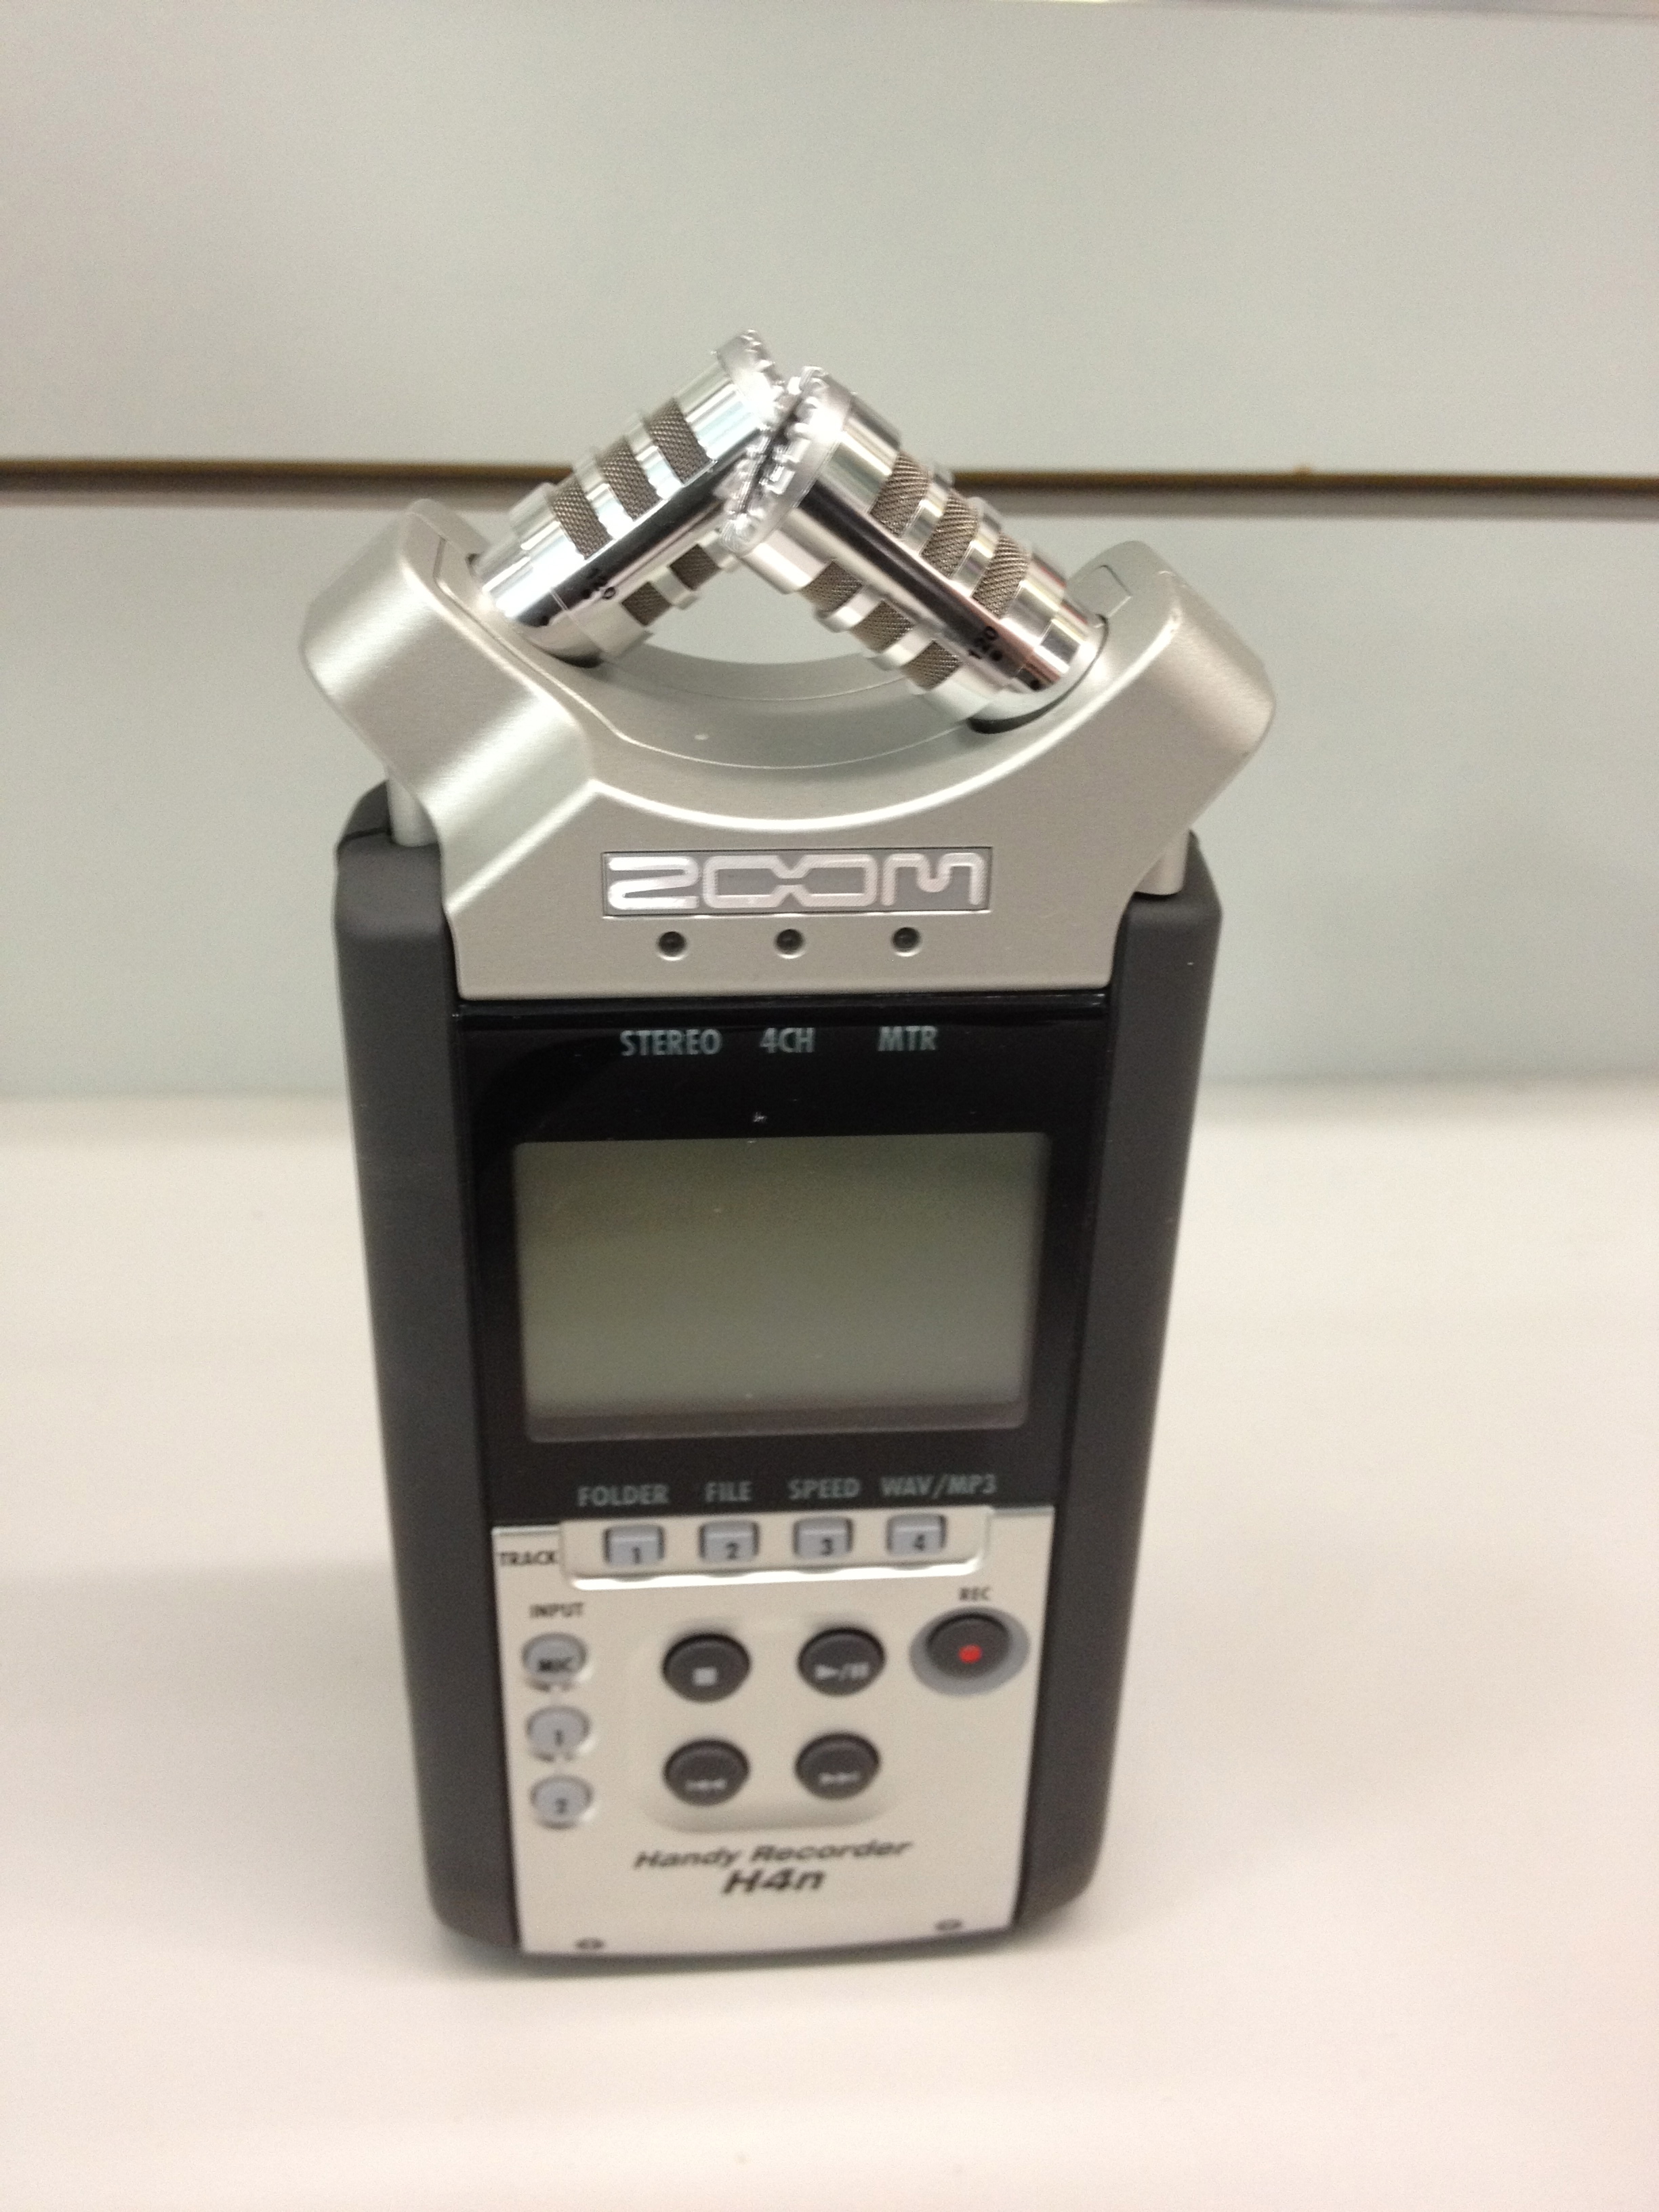
 As they used to say in the movies, "it's a trap!" Getting good audio in your video projects shouldn't be that tough but it often is. While many consumer and prosumer level cameras have external microphone inputs, they are often of dubious quality and only work with high impedance (short cable length and noisy) microphones. Pro grade video cameras have balanced low impedance inputs of the XLR format allowing for long cable runs and superior noise control. Fortunately there is a solution for the rest of us.
Now I won't tell you this is a simple process, because it isn't, but it will give you great audio. Do record audio with your video camera. AND do record audio with a separate audio recorder. For less than the price of a bolt on XLR input, low to high impedance, mic converter, you can get an amazing audio recorder and it is the Zoom H4N.
The Zoom H4N (pictured) is a brilliant piece of kit. In addition to really excellent stereo microphones it also has two XLR mic inputs, as well as line input capability. It has integrated meters and level controls. It can mount on a tripod or on a mic stand. The internal mics have excellent directional control and you can put a windscreen over the tops of the mics to reduce wind noise if needs be. The unit can record in uncompressed WAV or compressed MP3 file formats and stores content on standard SDHC memory cards.
So here is a simple workflow that anyone can use.
1. Set up your video camera as you wish, tripod or handheld
2. Position the Zoom appropriately if using the built in mics, or if using external mics, plug them in and run them out to your sources (i.e. a "stand-up" style interviewer)
3. Start the recorder and the video camera, synchronization is nice but not critical
4. Use a clapper, or hand clap or other sharp noise to put a spike in the audio track for the Zoom and the video camera's audio track
5. Complete your recording(s) as necessary
6. Now import your footage to your computer as you normally would and copy the audio files from the Zoom's card to your computer as well
7. Launch your movie editing software and import the content from your video camera onto a track/timeline/project whichever your software uses
8. Import the audio track from the Zoom onto a separate track
9. Now select the content from the video camera and separate the audio and video tracks. This is a pretty common function in most all editing apps, so you can delete the audio, or add a voiceover or otherwise manipulate the audio
10. View both your audio tracks as waveforms, and adjust them so the "spike" you recorded earlier is aligned. You might have an editing tool that performs audio alignment automatically (Final Cut Pro X does this wonderfully), but if not the spike is very helpful. If you can expand the waveform track to spread it out, this becomes much easier
11. Once aligned, play the project, if your alignment is solid, you will hear only "one" audio track, not two, although it may sound a little thicker than the originals did due to small delay
12. If the project looks right, meaning the lips are in sync with the audio, you are finished moving tracks in the timeline
13. Mute the entire audio track that came from the video camera and play the project. If you are happy with the outcome, delete the muted track to prevent it coming back by accident
14. Link the audio and video tracks together and do your editing, cutting, rippling, adding titles, whatever you need to do
15. You're done. It's not like using a mixing desk and big screen editing decks, but it is a LOT better than using the built-in mics on the video camera or trying to get good audio out of crappy high impedance microphones plugged into the questionable audio stage of a consumer video camera.


