Thinking about Soft Light
/
What does soft light mean? Let’s talk about it.
Read MoreWelcome to The Photo Video Guy. I share training, ideas, opinions and tips to help you make better photographs and videos.
Have questions? Excellent! Please click this link to fill out the simple form to submit a question

If you’ve ever come away with an image that is nearly great but noticed when editing it that nothing is really tack sharp, the first course of action is usually to blame the hardware.
While it can be true that there will be a lens/camera combination that is not right, after offering micro-focus adjustment definition and programming for about 10 years now, I will say that in general, the bodies and lenses are doing their job very well and micro focus adjustment is rarely the true issue.
It can happen that a lens camera system will back focus or front focus to a nominal extent, however, unless one is working with zero depth of field, either through camera to subject distance, long focal length glass or super wide apertures, as a general statement, depth of field will take care of minor front and back focusing.
One of the reasons why more demanding creatives want all metal mounts, is that they tend to stay “true” longer, although when they are damaged, repair is more costly. In my own experience, I have seen clients have more issues with lenses that have non-metal mounts than those that do.
All that said, the issue of being out of focus is most likely happening behind the camera, meaning it is you and I.
There are number of reasons this can happen. Here is a somewhat comprehensive list of reasons
Shutter speed is too low for the focal length and weight of the camera lens combination
User is depending on some form of image stabilization to use lower than safe shutter speeds in order to avoid increasing the ISO
User is not using a stable shooting platform when needed
User’s stance and or grip is poor
Inappropriate shutter actuation
User’s stabilization platform is inadequate
User’s blood pressure or heart rate are elevated
User is under the influence of a stimulant or physical trait that makes the user unstable.
High megapixel sensors will show micro shake more
These are all solvable with zero or minimal cost and a bit of developed discipline. Sometimes we develop false expectations about what technology can do, or use guides as if they are rules.
We have amazing options today of both in lens and in camera stabilization but it is important to understand where they work best and how they can help you. For in lens stabilization there exists good documentation that show that stabilization works best at vibrational frequencies below 3 Hz (3 vibrations per second) and over 10000Hz. Practical applications might include shooting on a surface getting regular or transient slow vibrations, such as a concrete roadway or bridge at the low end or while shooting from a helicopter at the high end. In most cases stabilization does no harm, but rarely delivers what he manufacturer’s marketing says, and not that all makers add a caveat of “up to n stops” of shake reduction. “Up to” is mcmarketing speak for maybe but probably not. Sadly there is not at this time independent scientific data that shows the optimal vibrational frequencies for in body stabilization.
We are often fooled by claims about stabilization capabilities or our own egos about how slow we can go. The larger the sensor, and the higher the megapixel count relative to the sensor size, the more impact micro shake has on us. Standing on a road is less stable than standing 12 feet of the round on soft ground. Standing on a bridge or railway track while potentially dangerous is also unstable because the materials transmit vibration readily and for great distances. Seek a position as best you can where there is likely to be the least amount of vibration transmitted to your shooting platform which may be simply your own body. We also may think that we are steadier than we actually are. Go in presuming that you are unsteady and choose a platform to enhance things. That could be a tripod, monopod, wall to rest your arms on, going prone (long range precision shooters shoot from prone because it is more stable than shooting off-hand or from a kneeling position).
If you do choose to use a tripod, find a way to release the shutter with out touching the camera at all. Consider using the self timer or a remote release that is electronic. Also whatever external platform you choose, consider its native tendency to transmit vibration. The price of carbon fibre has dropped considerably and it transmits vibration at a significantly less level than aluminum. Better tripod heads also use vibration dampening materials in their construction. Even if you use a device like the popular Platypod, use the rubber tipped screw in feet for maximum isolation. Just for your interest, aluminum’s natural resonance frequency is 55.2 Hz, so it vibrates most at that frequency and multiples thereof.
Poor Body Position and Grip, Inappropriate Shutter Actuation
The best stance for photography is called the Modified Isoceles. This is feet about shoulder width apart, knees slightly flexed, torso not bent or twisted, elbows in tight to the body as best possible but not locked, camera raised to eye level, and never dropping the head or bending the neck to bring the eye to the camera. Always bring the camera to the eye, not the other way around whenever you can.
The grip places the left hand under the camera body with the thumb and fingers creating a V for the camera to rest in. All the strength that goes into holding the camera should be in the left hand.. The right hand exists only to provide the finger to release the shutter. There should be no real tension in the grip of the right hand, looser is better than tighter, unless you practice extensively to use what is called a contraction release.
A contraction release is a joy once mastered, but for many people the roll release is simpler. The finger used to release the shutter rolls smoothly over the shutter release without pushing the shutter button with intent.. You get what is called a surprise break which after practice is no surprise at all. Never release the shutter by using the tip of a finger as this can result in serious micro shake because of the stabbing motion. Roll gently and you will be more successful. This skill requires some practice, so while at home sitting around practice firing off a few hundred frames of nothing every week to help forge the euro-muscular pathways to make this movement natural. We roll over releases or squeeze release. We never press a shutter just as we never pull a trigger, popular media’s depiction of either activity being wrong about 95% of the time.
You will see and may even catch yourself holding the camera with one hand on each side. This is massively unstable and allows the lens to move. There is no fix, over than to stop holding the camera this way. It’s wrong.
While we may not want to acknowledge it, we shake more as we get older. It’s a reality so accept it and adjust accordingly. I am very grateful that cameras today do so well at higher ISOs because I can no longer hold narrow angle of view lenses at the same lower shutter speeds as I once could. Coffee and other stimulants, including medications can make you shake more. Even so-called relaxants can have debilitating effects on respiration rates, heart rates and blood pressure. Normal blood pressure, good breathing techniques and managing heart rate will all have a positive effect on reducing micro shake. Since most of our photography is not necessarily minute dependent, do what you can to slow your breathing and heart rate. Some calming breathing exercises can be very helpful. When making a shot, consider taking a breath in, release it halfway and roll the shutter before completing the exhale.
We understand that a higher megapixel count on a standard sensor should deliver higher resolution, but the counter effect is that because each two dimensional surface area of each pixel is smaller, they are more likely to show the effect of micro shake. The smaller the sensor the less evident this is and the lower the megapixel count relative to the sensor size also reduces the impact of micro shake. Smartphones have very small sensors and so a smartphone 12 megapixel sensor is less likely to show evidence at normal viewing distance than a full frame 12 megapixel sensor. The shake is there, it’s just less evident and found less often because smartphone images are rarely edited at a pixel peep level or printed large. Just because we do not see the shake does not mean it is not there. To find it, we must look for it.
This is why many photographers come away initially displeased with their first foray into high megapixel sensors. The micro shake is more apparent. It is a fact unless the manufacturer does processing in camera to try to smooth it out. Some makers do this. Some of the earlier large megapixel cameras introduced micro shake evidence caused solely by mirror slap. I have a Canon 5Ds that is an example, and I have had to program a release lag into it to reduce this impact.
Do you have an idea for an article, tutorial, video or podcast? Do you have an imaging question unrelated to this article? Send me an email directly at ross@thephotovideoguy.ca or post in the comments. When you email your questions on any imaging topic, I will try to respond within a day.
If you shop with B&H Photo Video, please consider doing so through the link on thephotovideoguy.ca as this helps support my efforts and has no negative impact whatsoever on your shopping experience.
If you find the podcast, videos or articles of value, consider clicking the Donation tab in the sidebar of the website and buy me a coffee. Your donation goes to help me keep things going.
I'm Ross Chevalier, thanks for reading, watching and listening and until next time, peace.

I’m a flash person. The first piece of kit in the bag after the camera and first lens is always a flash. Followed by a wireless controller to get the flash off the camera. Photography is all about managing light, and a flash is a sun that you control that fits in your pocket.
I’ve seen lots of posts extolling the benefits of “natural” light. This is a stupid statement. All light, regardless of the source is natural, it’s all electromagnetic radiation. Perhaps you say ambient light. That is a different thing and could be perfectly viable, although most of the time I find those who shout loudest about ambient light have never learned how to use flash at all. Hmm criticizing something you know nothing about… never seen that before.
Back in the olden days, flash was allegedly really hard. It actually wasn’t hard at all. Even flashbulbs had a little cheat sheet to tell the user what aperture to use for what distance with which film. The outcome was a huge number of properly exposed flash photos. Of course. today we know that reading is avoided by lots of folks and if they cannot just point and shoot, the model is defective. We call these people lazy asses.
Enter TTL flash. TTL stands for through the lens. For flash aficionados this was a brilliant option to use. I say option, because there are conditions where using a flash in manual mode is very effective, albeit perhaps less often than the pundits might suggest. Just as our in camera light meters work through the lens for ambient light, TTL flash works through the lens for flash exposure. It’s incredibly simple, and works because of the advent of integrated circuits. TTL Flash is a program. Today’s TTL flash is a very flexible and user adjustable program, but still a program.
But, you say, “TTL flash doesn’t work for me, or doesn’t work consistently.” Ok. Sad to say the problem is you.
Why?
Remember our mathematical friend, the Inverse Square Law. Simply it tells us that as the distance between a light source and its subject doubles, the amount of light required for the same exposure quadruples, the square of the distance change. If the distance triples we need nine times as much light. This is basic physics and wish as you might, be thankful it always works this way.
So why, you may ask does my TTL metering for ambient light work really well most of the time except when the scene itself is mostly white or mostly black? We know that the ambient light meter is averaging all the meter sensor inputs to arrive at an exposure that will result in an average brightness of middle grey. We accept that, because it works most of the time and when it doesn’t we can use exposure compensation, or shoot entirely in manual to ensure that we miss shots as we futz about with camera settings. It’s 2020. not 1920. The camera’s calculations and automation are better than you, 100% of the time, when it comes to getting to a neutral exposure. Shoot in manual if it makes you happy, I don’t care. but you aren’t making better images because you do, except in very specific situations.
I digress. TTL ambient metering works so consistently because the distance between the light source and the subject if for all intents identical. Whether you are metering your puppy in front of you, or a distant mountain range, the source of light is 93,000,000 miles away. Elevation or distance between you and the subject are irrelevant in the context of light source to subject distance.
Starting to see the potential issue?
With flash as the dominant source, the distance between the flash and subject could vary, requiring more or less output from the flash depending on flash to subject distance. Note that I say flash to subject distance as in this scenario, camera to subject distance is irrelevant.
Modern cameras have selective metering patterns and sometimes you can even tell the camera to have the meter reading follow the focus point in use. But what if you don’t? What if you use the general purpose meter pattern which measures light from all over the sensor and what if your subject and the background are some distance apart? How does the camera know what your intended subject is? Maybe it’s tied to the AF point, but most often is not. So if I make an image of my friend Gord and he doesn’t fill the frame and the background is an old barn fifty meters behind him, what meter reading is going to be right for flash? The inverse square law tells us that if the flash meters to light the background, Gord is going to be completely blown out, and the barn being so far away may be underexposed. If the flash meters for Gord, the barn is going to be darker. The reason is simple, it’s because the flash to subject distance is not the same.
Now if you follow the precept of my dear friend Mr. Rick Sammon, that “the name of the game is to fill the frame” you are less likely to run into these issues. If you use a smaller metering pattern and link it to the autofocus point, that could help, but since I avoid putting stuff dead centre, my normal mode of focus, lock, recompose, shoot may not be optimal. That’s another Sammonism by the way, “dead center is deadly” aka boring as shit.
At this point you may be saying well numbnuts, you just proved to me that TTL flaah is lousy so I will just shoot on manual. Ok do so, but you are going to be playing with the settings on the flash a lot, or playing with the settings on your wireless system a lot to get an exposure that you like. Consider instead using TTL and if the flash is too bright, use Flash Exposure Compensation to reduce the time that the flash is lit. If the subject is a bit dark because something in the foreground is telling TTL to turn the flash off too early, you could use Flash Exposure Compensation to try to get the flash to stay lit longer, although you’d be better to move to avoid having something glowing like a radioactive pool in the foreground, but hey, it’s your image.
Let me touch briefly on the subject of flash duration. This is something separate and not relevant to your camera’s flash synchronization speed. The sync speed is the shutter speed at which the first shutter curtain has opened fully, and the second shutter curtain has not started to close. This is typically between 1/60th of a second and 1/250th of a second. HighSpeed Sync is an entirely different species for another article, and leaf shutter lenses don’t have curtains so they sync at all shutter speeds. Flash duration is how long the flash is lit. With modern studio flashes, the duration that the flash is lit can be as short as 1/80000th of a second. For most speedlights, the lowest output setting provides a duration of about 1/10000th of a second with a full power duration of about 1/1900th of a second. If this sounds to you that even a full power pop is over long before the shutter closes you would be correct. See! No correlation between sync speed and flash duration at all. TTL works not by telling the flash what “power” to use but by telling the flash when to turn off. This is why the same TTL system will work with flashes of vastly different output capabilities.
Most cameras that support TTL flash have Flash Exposure Compensation capability built in, but entry models often don’t. It’s less of a problem than you think because any decent wireless system will put FEC in the transmitter. Even the very inexpensive and highly recommended Godox XT / XR series of radios do this. No need to spend a fortune on your maker’s own TTL wireless system. TTL is just a command language, it either works or does not work. If your transmitter/receiver system is inconsistent or doesn’t offer flash exposure compensation, spend $120 CAD and get a Godox kit and be done with it. You can spend a lot more, but don’t have to.
Flash Exposure Compensation does for flash what regular exposure compensation does for ambient light. It works, and with even a little diligence you can get to where you need to be in three test shots. Most of the time, it’s right on the first shot.
One of the big differences when using TTL flash is whether you are using the flash as your main source or as a fill source. A flash on camera for fill is not bad at all, because it is being fill, not the dominant source. If flash is the dominant source and fired directly from the hot shoe, it’s an odds on favourite to look like crap. Use your wireless system to get the flash off the camera. Tie it to a tree, put it on a light stand, bounce it off a white ceiling, use a light shaper, whatever it takes to get the light off axis so you get a more pleasing presentation of the light. Fill the frame and TTL is going to get you a great exposure, and if you don’t like it, you can change the flash duration with FEC.
You might be wondering if I ever use manual flash? I do when I am in the studio. In that situation, the light position is pretty much fixed for flash to subject distance. The subject is typically on a mark and not changing flash to subject distance. So I can set the exposure once I have one that I like and forget about it. If my subjects are moving, such as dancers, or gymnasts or skateboarders, I use TTL and have a better ratio of keepers. Not because I am super smart or a really amazing photographer, but because I have invested in myself to learn how to get the most out of TTL Flash. You can too.
Do you have an idea for an article, tutorial, video or podcast? Do you have an imaging question unrelated to this article? Send me an email directly at ross@thephotovideoguy.ca or post in the comments. When you email your questions on any imaging topic, I will try to respond within a day.
If you shop with B&H Photo Video, please consider doing so through the link on thephotovideoguy.ca as this helps support my efforts and has no negative impact whatsoever on your shopping experience.
If you find the podcast, videos or articles of value, consider clicking the Donation tab in the sidebar of the website and buy me a coffee. Your donation goes to help me keep things going.
I'm Ross Chevalier, thanks for reading, watching and listening and until next time, peace.
Yep, the end of another year, and one that I found a bit disappointing photographically. Allow me to explain.
In the different forums, message boards and communities that I support, I found that there was less attention being paid to the photographic creative process, or the video creative process and more time being spent worrying about non-existent gear and a demand to increase volume of lookalike work to get more likes. As an artist, I find this trend both sad and offensive. Let’s start 2020 with some alternative thoughts
Read MoreIt’s been about six years since I wrote on this topic and while the concepts have not changed, some of the vendors and methodologies have evolved. A recent question via email has prompted this new article.
Read MoreIt’s been a number of years since Apple pushed their professional grade photo editing solution onto an ice floe to die quietly out of sight and out of mind. Many customers still lament the decision because Aperture was a really great product and Apple shill marketing notwithstanding, Photos is such a pale replacement as to be nearly transparent.
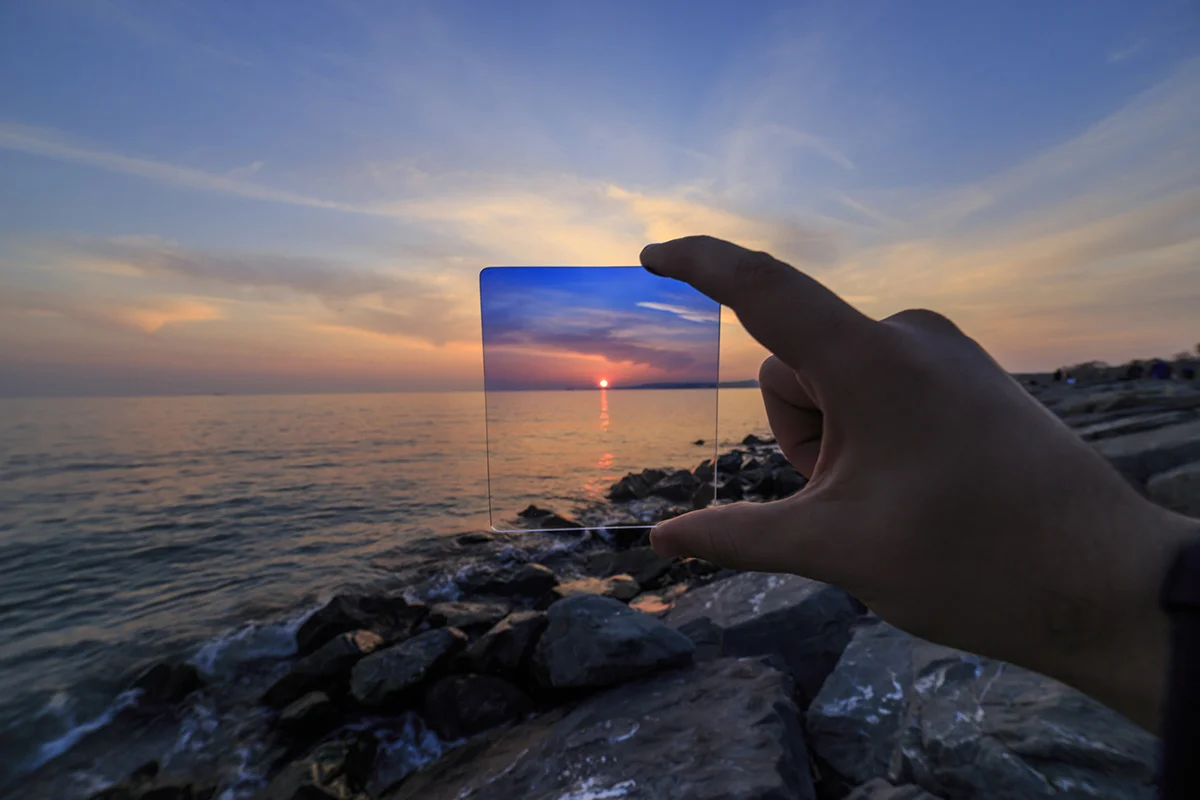
Read MoreIs my tongue embedded firmly in cheek? A little bit. Nonetheless as a moderator on the KelbyOne Community, I see lots of posts by nice people worrying that their images are not sharp.
Join me as we explore the validity of these concerns and why so many of them exist
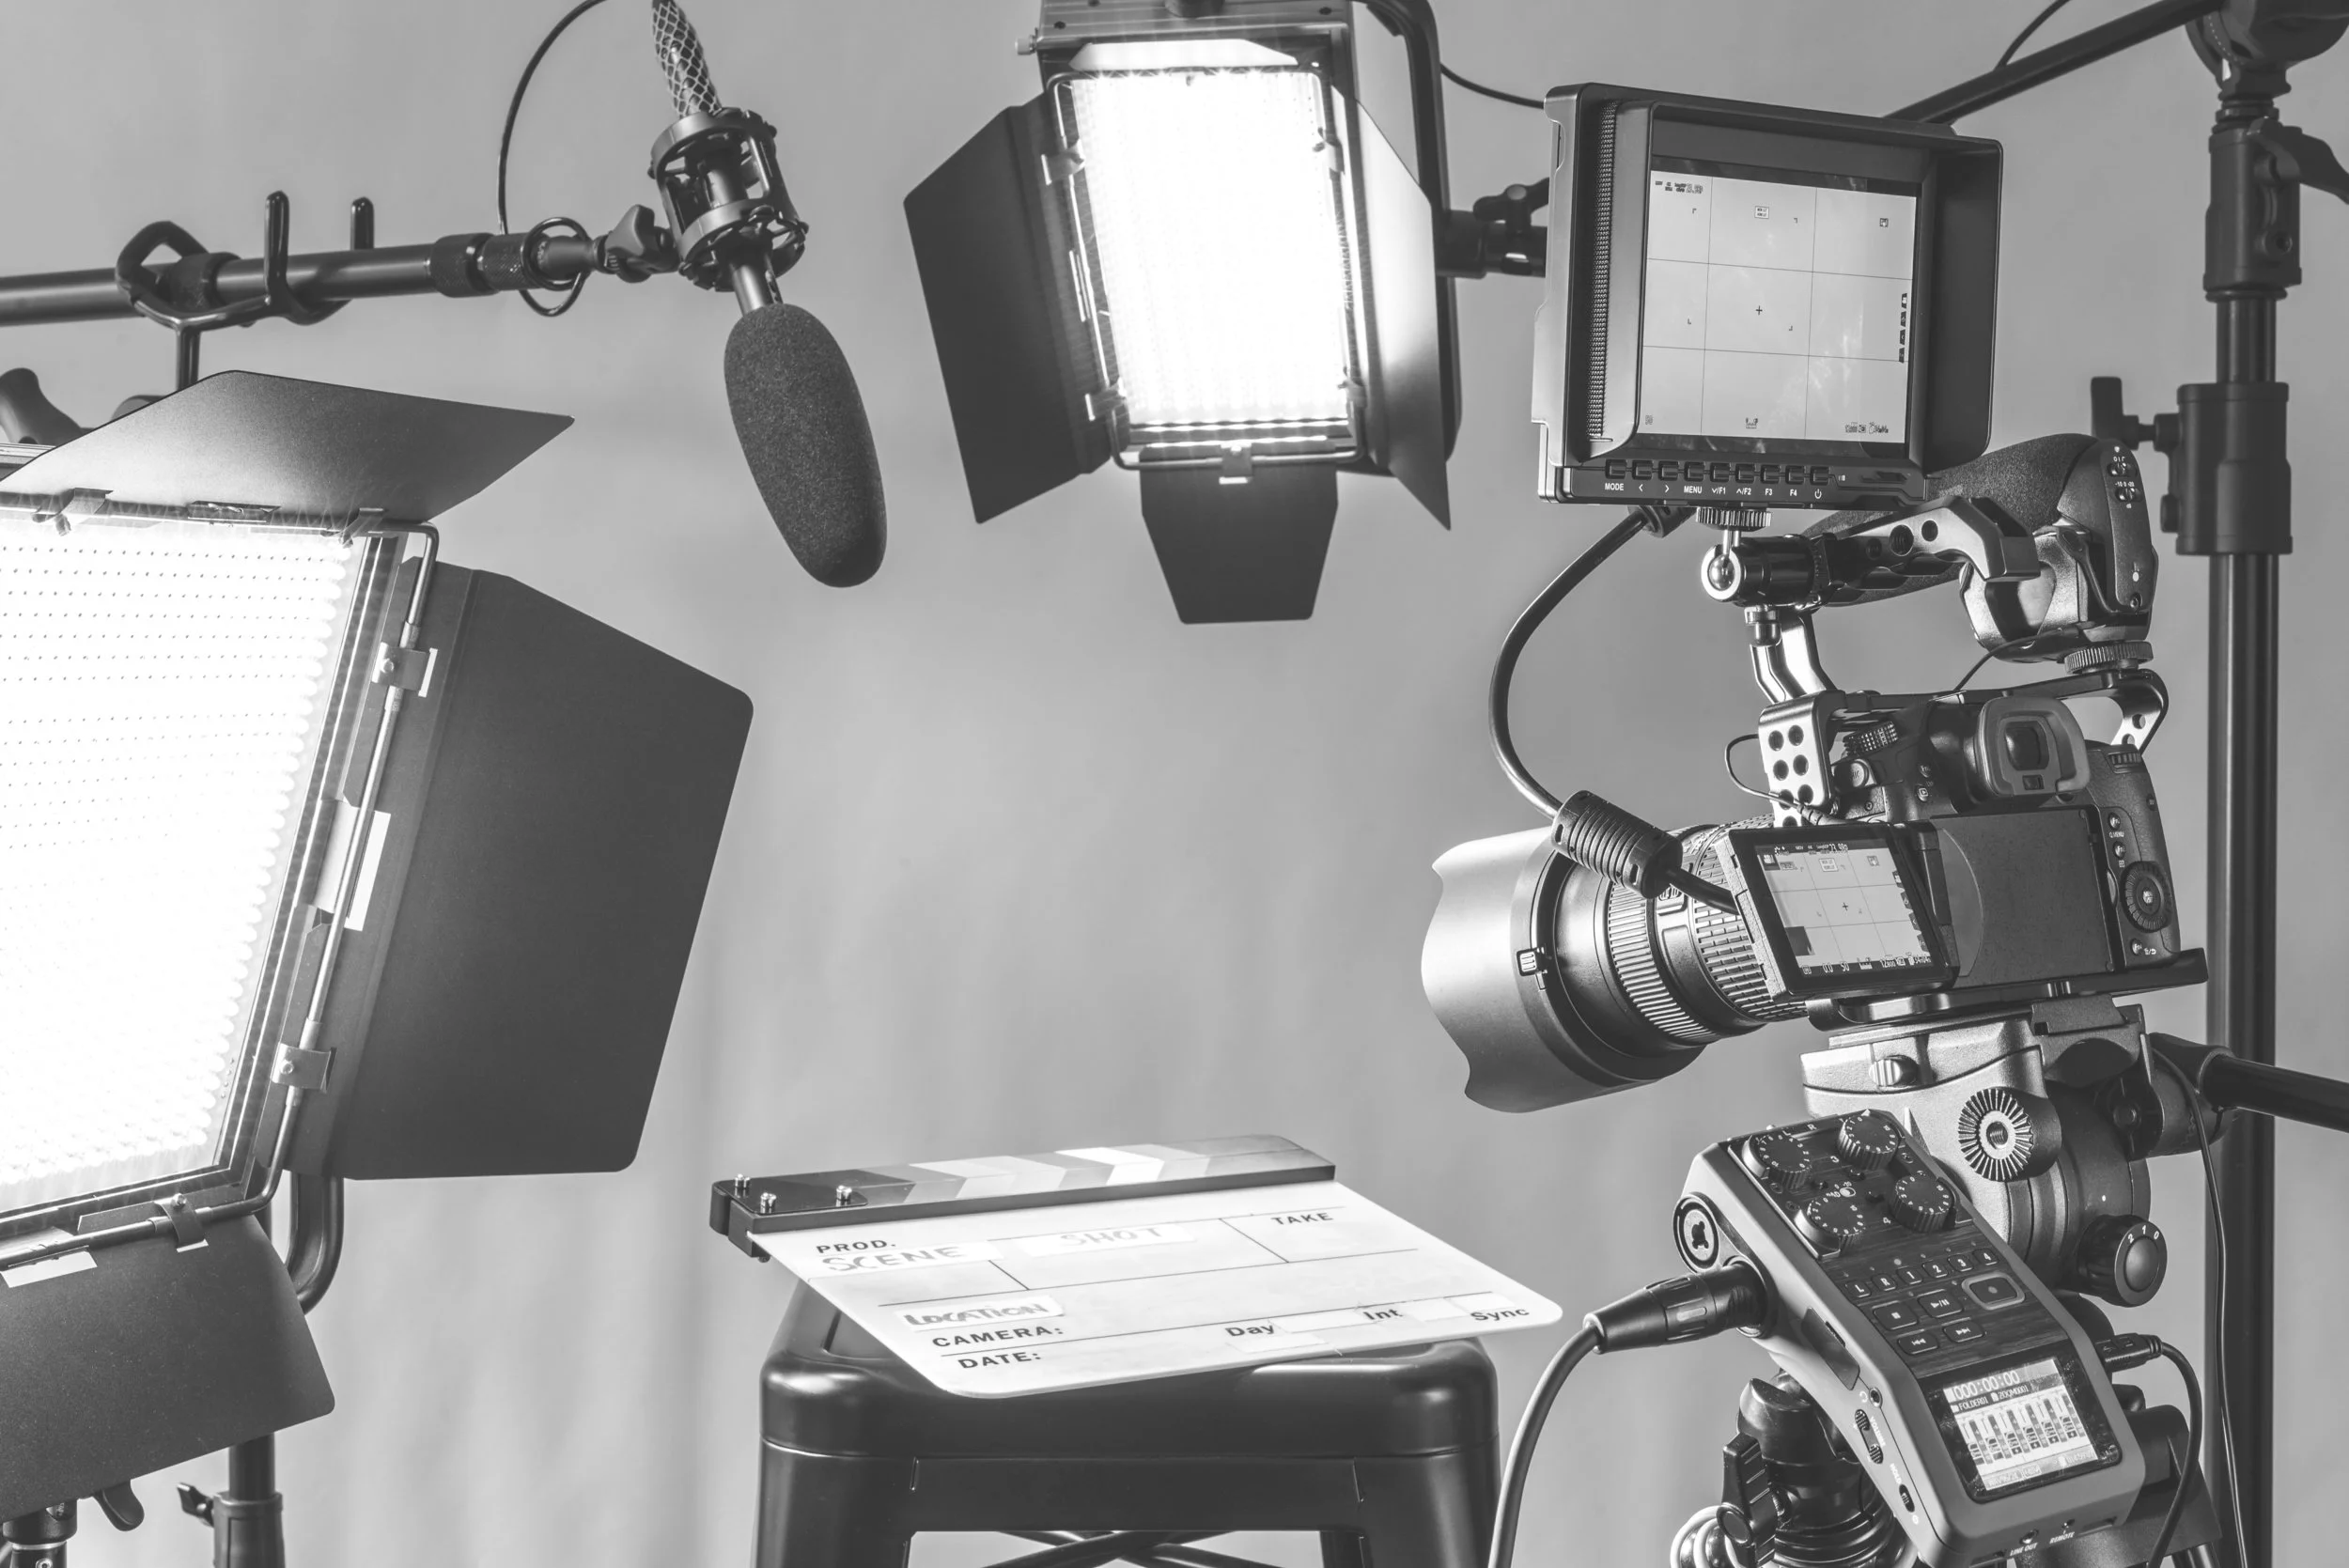
Read MoreThis article started its life as being specific for lighting video and was initially written for Henry’s in Canada for their blog site. Because the secrets are not video specific, I’ve extended and enhanced the article to cover both stills and videos.
Read MoreAt the risk of sounding like the cynical old man that I actually am, I wanted to take some time to talk about LUTs because of the way the idea is being presented to creatives. Serious videographers have been aware of LUTs for a long time because they have been around for a long time, while many still photographers have the impression that this idea is brand spanking new.
Read MorePEBKAC means “problem exists between keyboard and chair” Also known as human error. I am regularly surprised by the vitriol exhibited about faulty software and poor testing and dumb corporations when it comes to computer use.
Read MoreJaimie over at ShootDotEdit noticed a post I had made about some really disparaging statements made over at Brides magazine and asked if I would be willing to share a link to their site where they have made a document on Marketing Tips for Wedding Photographers available.
Read MoreBird photography is challenging. I don't care what kind of bird you are talking about. A successful photographer has to build a workflow to make great images, and this involves time, practice, perhaps some study of the biology of the creature and proper light.
Read MoreHey gang. It's been a couple of years since the boom time of HDR. You remember those days, lots of electric, oversaturated, haloed images that made your teeth hurt and your eyes burn? Yeah I thought so. Fortunately, those days are mostly past, and it might be time to revisit the entire HDR idea, this time with some history under our belts and a better understanding of what we want to achieve.
Read MoreWhat you will get in this tutorial is a simple, repeatable, three light setup that you can use anywhere with only a little set up time once you have your configuration recorded and that will deliver superb and consistent results. If you have a conga line of shots to make, the set up doesn't change, and so you can focus on the human skills necessary to bring out the real person.
Read MoreLet’s examine some options in external storage for your irreplaceable images and videos
Read MoreI was recently approached by the Partnership Manager at DESIGNEVO to take a look at their web based logo maker. They offered me the full tier use if I would do a review. I share this in the spirit of full disclosure, no other benefits were offered to me. Let's take a look at what it delivers.
Read MoreBackgrounds can be a real challenge for a photographer or videographer. If we are shooting in ambient light, what is there may not be optimal. A busy background detracts from the primary subject, or there may be elements that just don’t fit, and while you can use content aware fill in Photoshop to remove these things, we do not yet have that capability in video editing that is easy to do. In this article, I want to explore some options.
Read MoreI've recently been approached by a number of folks who like using portable hard drives for travel and for their photo libraries for their laptops who have been unable to prepare the drives with an Apple file system and partition. Here's the fix.
Read MoreUsing AUTO ISO can be a huge benefit when you have to work quickly, or when you find yourself in a situation where you just aren't sure where to start. This Quick Tip video explains the concept and the why
Read MoreThere is always confusion about the relationship between Guide Number and Watt Seconds (joules) when talking about flash. In this Quick Tips video, I try to provide some education on the differences and why you might use this information when making a flash purchase.
Read More

The site of The Photo Video Guy featuring articles, reviews, tutorials and a podcast for your enjoyment and skills development.
If you get value from here, please support the channel on Patreon. Once there, click Membership
Looking for something in particular? Search all the posts for the content you are seeking!
Have a question on photography or video? Click this link to send us your question.
Subscribe to our articles via RSS by clicking the link below.
Subscribe to the Make Better Photos and Video Podcast via RSS by clicking this link


Regular readers know that I am a big fan of Really Right Stuff products. Their customer service is superb. If you choose to purchase from them at their site, please let them know that I referred you.
The Photo Video Guy is the creation of Ross Chevalier. Please feel free to link to your site, but please don't lift content without attribution.