Episode 69 : Supplemental
/This post is a supplement to the audio podcast Episode 69 : Understanding Low Key and High Key of Make Better Photos and Videos. Please listen to the episode to fully understand the purpose of this supplement.
In the episode, I talk about moving which tone hits Zone 5 in the Zone System as a means to drive high or low key image making in the most simplistic vein possible.
To show what I mean, I have photographed basically the same subject under the same lighting conditions on both white and on black to facilitate high and low key examples.
Exposure Information
In order to eliminate the vagaries of reflected light meters completely, I used a Lumu Power attachment to my iPhone 6+ to meter the ambient light falling on the subject. The base exposure is 1 second at f/32 with ISO 100. Because I am measuring the incident light, there is no impact for different reflected light based on subject placement or background. Camera used was a Canon 7D Mark II with a Canon 100/2.8L Macro lens mounted on a Really Right Stuff head and tripod. Light was directly overhead and provided by a Westcott Spiderlite TD6 in a Bowens 60cm square softbox using only the outer diffusion panel.
High Key
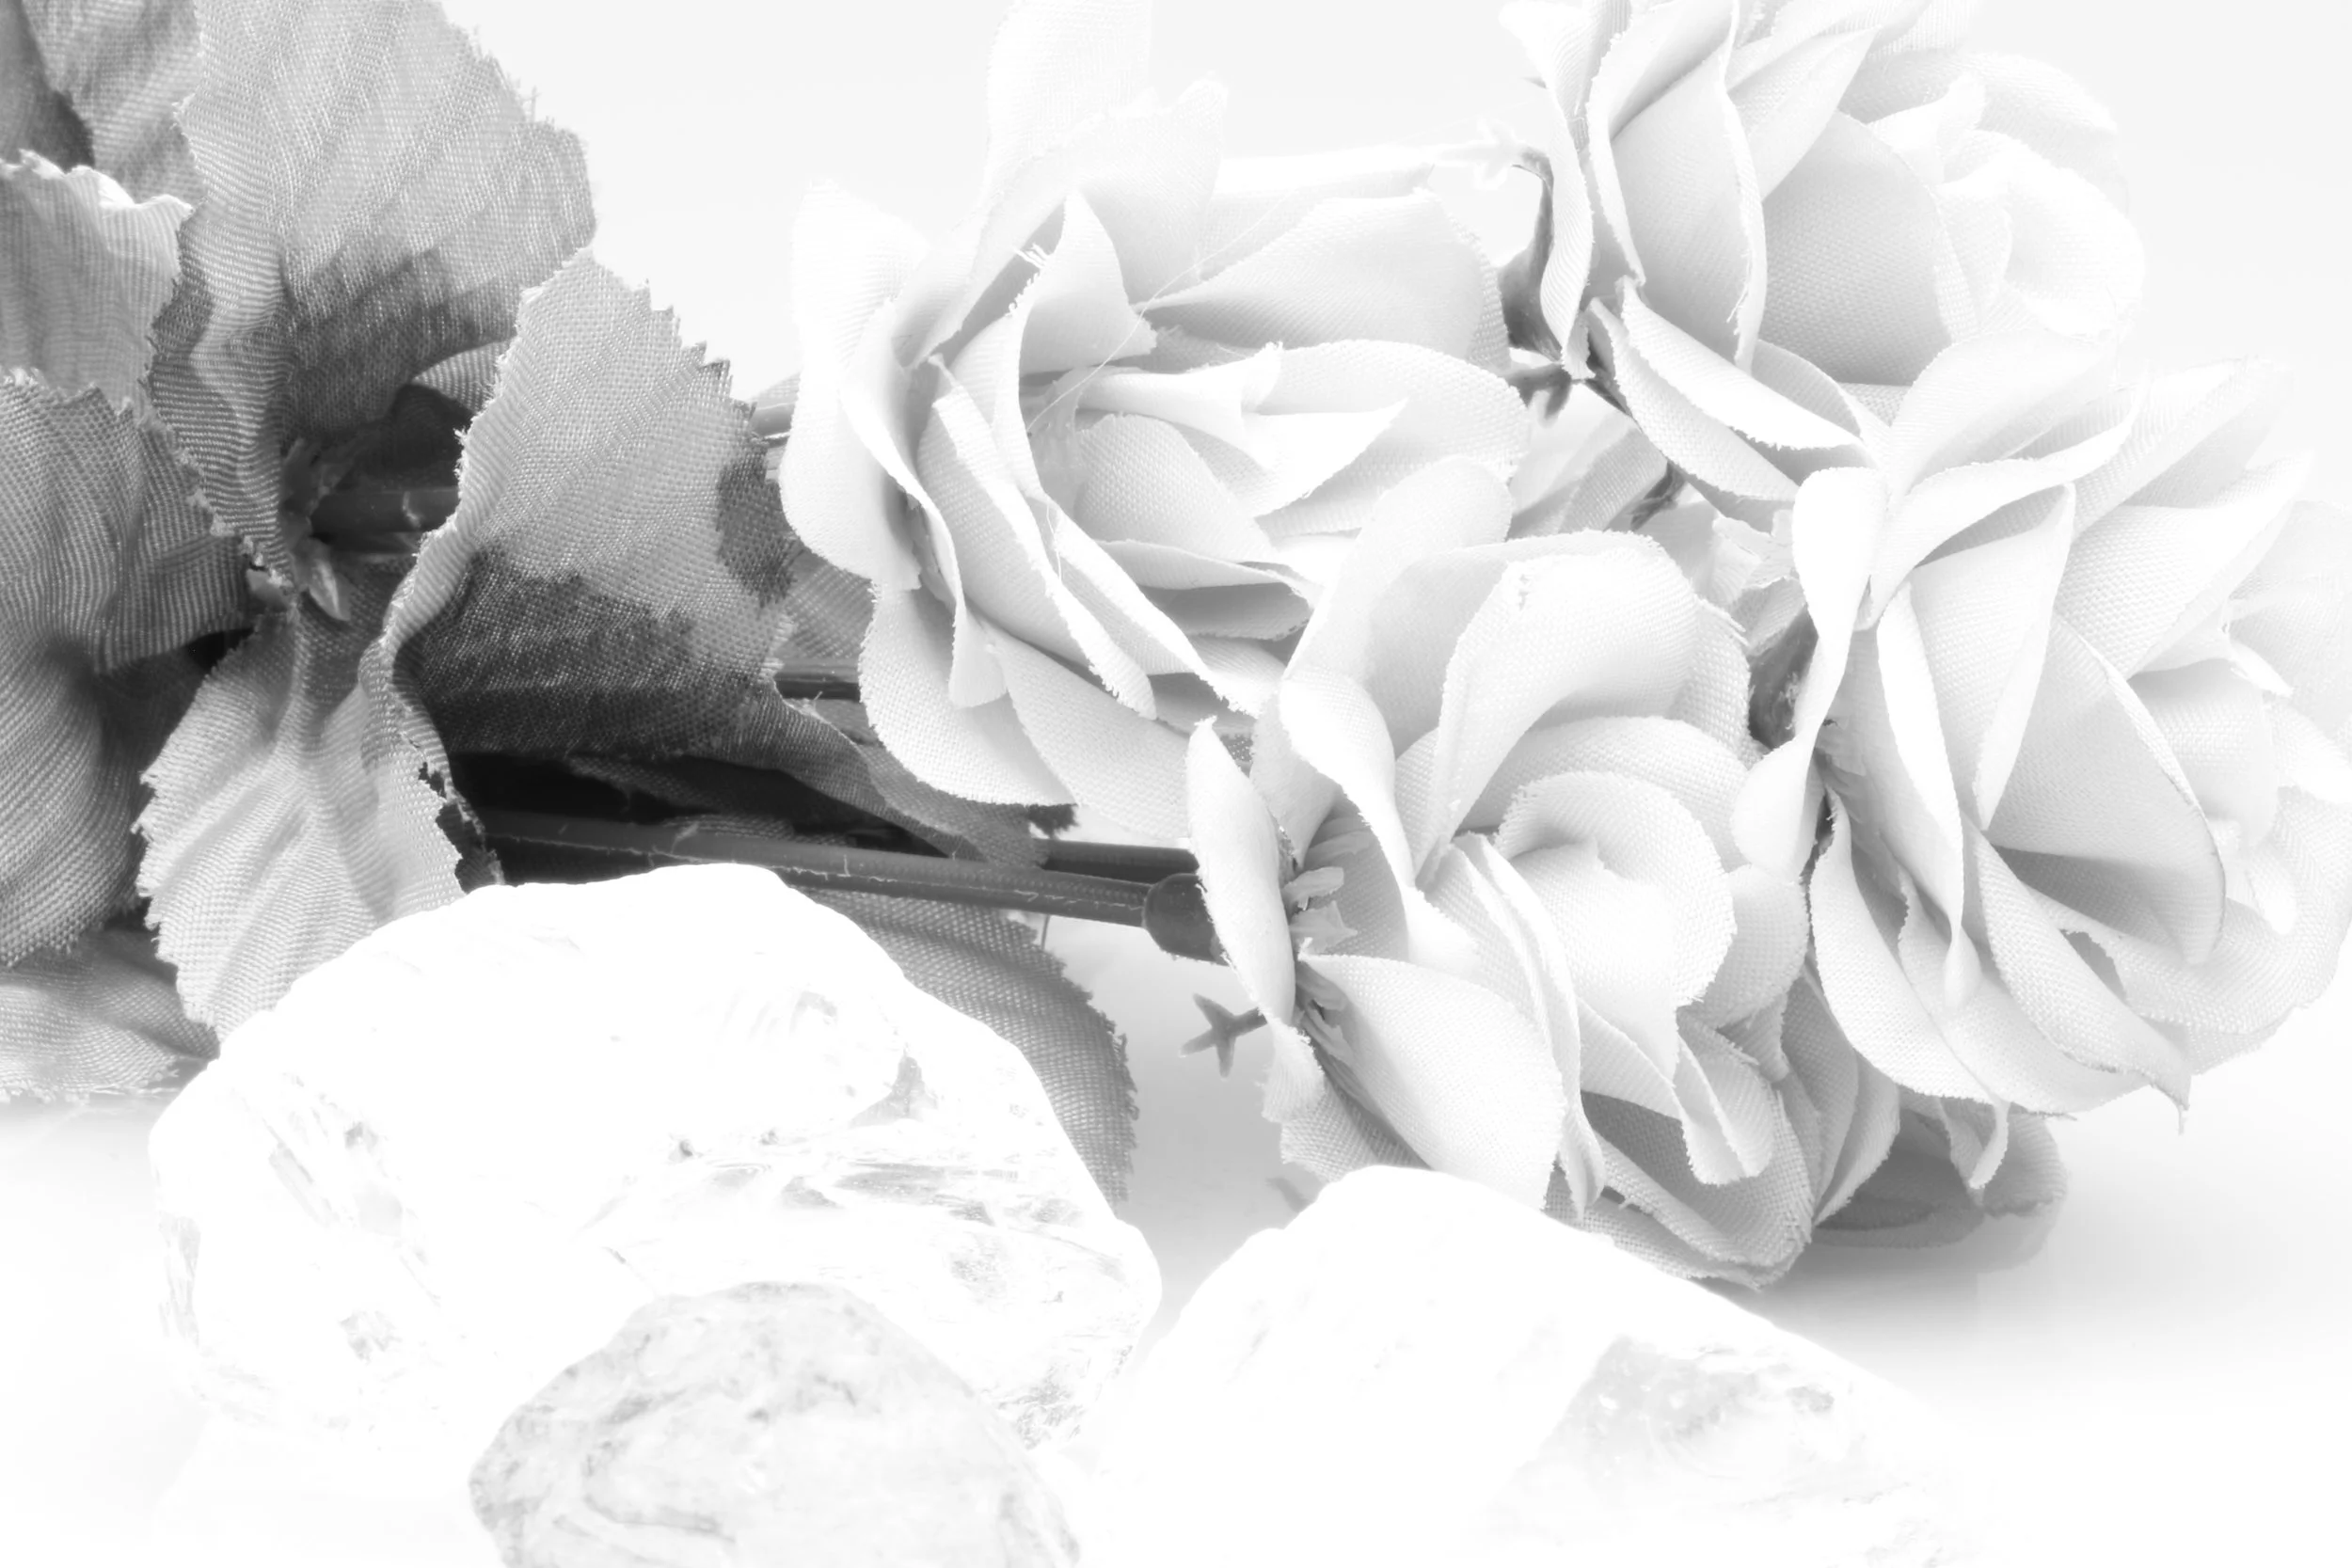
This first image is of the subject matter on a white tabletop background. The exposure was made at the incident meter reading noted above. The subject is a pink fabric rose with green stalk and leaves, along with three pieces of sea glass, two clear and one blue.
1 second f/32 ISO 100
Note that this exposure both pure whites and pure blacks as well as a nice tonal range in between. This is the JPEG right out of camera, using Canon's Monochrome Picture Style
4 seconds, f/32, ISO 100
In this second image, I selectively moved that which was in Zone 3 to Zone 5. This movement, has eliminated the blacks, and in the glass blocks we see what happens when we do this to elements that were in Zone 10 previously are completely blown out because we have pushed them so far up they have lost all detail. Thus we see that for High Key, we have to watch what we include lest it blow out to the point of being unusable. Consider instead the rose. There is still then same tonal range, but the whole thing is now brighter with no blacks. It is High Key. We also see much more detail in what were the deep shadows in the leaves. We could have taken the original and lifted the exposure, which is a common error, but ended up with much more noise in the shadows as well as some ugly artefacting in the highlights. This is why getting the exposure right in camera is so critical.
Low Key
1 second, f/32, ISO 100
In this third image, the exposure is identical to the exposure in the first image. However the background has been changed to a relatively matte black card, although the angle of the card produces a dark grey tone because of how the light hits it. The exposure looks different, but is not. The overall look differs solely from changing the background from shiny white to a matte black. This is useful for consideration when thinking about backgrounds, but less important here.
We see nice textures in the glass block, but are losing shadow detail in the leaves already. There is a nice range of tones in the rose, but no true white or true black,
¼ second, f/32 ISO 100
In the final and fourth image, we see the impact of using the black background and pushing that which was in Zone 7 into Zone 5. There are no longer any whites at all. Because the leaves were originally in Zone 3 they are now in Zone 1 and anything that was in Zone 2 or less is now a black hole. The glass and the rose still have the same range of tones, but they are pushed down, offering a different story and mood. Again, we still have to be very aware of the impact of the key decision on the subject matter. From a reasonable distance, the roses appear to be floating because the stalk and leaves are nearly gone completely into the black.
These images are accurate representations of what happens as you start to experiment with High Key and Low Key. They leave out any post processing completely, because we need to be close to done in camera as best we can. We have more latitude pushing an exposure down than pushing it up in digital post processing, but that's still a cheap excuse for not getting it right in camera.
During these four tests, I did not trust the camera LCD as it is very small and not a calibrated display. Instead I had a Blackmagic Design Video Assist 4K mounted to the camera and was playing back the images to the Video Assist via an HDMI cable. Doing this makes seeing your work far easier.
Thanks for listening to the podcast and for viewing this supplement.


